Network File System (NFS) also known as client/server file system is a popular, cross-platform and distributed file system protocol used to export local file systems over the network so that clients can share directories and files with others over a network and interact with them as though they are mounted locally.
In CentOS/RHEL 8, the supported NFS version are NFSv3 and NFSv4 and the default NFS version is 4.2 which features support for Access Control Lists (ACLs), server-side copy, sparse files, space reservation, labeled NFS, layout enhancements, and much more.
In this article, you will learn how to install and configure the NFS server and NFS client on CentOS/RHEL 8 Linux distributions.
NFS Server IP:	10.20.20.8
NFS Client IP:	10.20.20.9
Setting Up NFS Server on CentOS 8
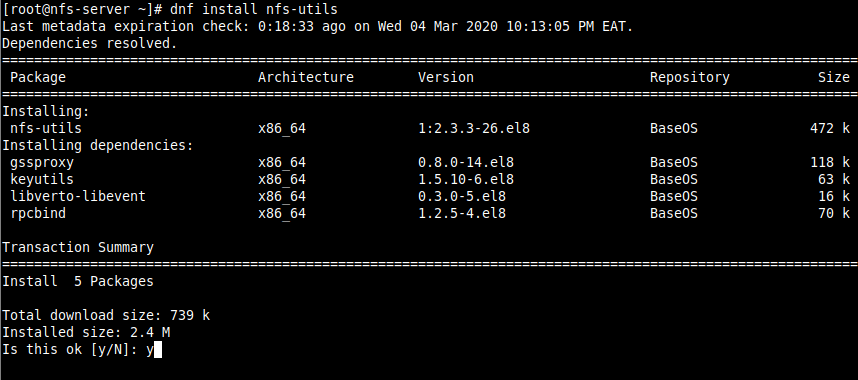
1. First, start by installing the required packages on the NFS server. The packages are nfs-utils which provides a daemon for the kernel NFS server and related tools such as the contains the showmount program.
Run the following command to install the package on the NFS server (use sudo if you are administering the system as a non-root user).
# dnf install nfs-utils
Install NFS on CentOS 8
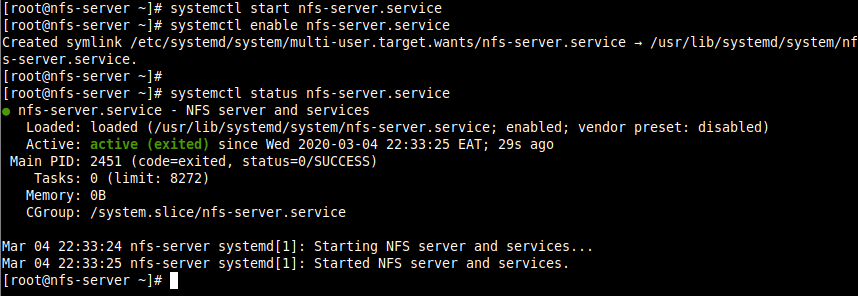
2. Once the installation is complete, start the nfs-server service, enable it to automatically start at system boot, and then verify its status using the systemctl commands.
Note that the other services that are required for running an NFS server or mounting NFS shares such as nfsd, nfs-idmapd, rpcbind, rpc.mountd, lockd, rpc.statd, rpc.rquotad, and rpc.idmapd will be automatically started.
The configuration files for the NFS server are:
/etc/nfs.conf – main configuration file for the NFS daemons and tools.
/etc/nfsmount.conf – an NFS mount configuration file.
3. Next, create the file systems to export or share on the NFS server. For this guide, we will create four file systems, three of which are used by staff from three departments: human resource, finance and marketing to share files and one is for root user backups.
4. Then export the above file systems in the NFS server /etc/exports configuration file to determine local physical file systems that are accessible to NFS clients.
Here are some of the exports options (read man exports for more information and export options):
rw – allows both read and write access on the file system.
sync – tells the NFS server to write operations (writing information to the disk) when requested (applies by default).
all_squash – maps all UIDs and GIDs from client requests to the anonymous user.
no_all_squash – used to map all UIDs and GIDs from client requests to identical UIDs and GIDs on the NFS server.
root_squash – maps requests from root user or UID/GID 0 from the client to the anonymous UID/GID.
5. To export the above file system, run the exportfs command with the -a flag means export or unexport all directories, -r means reexport all directories, synchronizing /var/lib/nfs/etab with /etc/exports and files under /etc/exports.d, and -v enables verbose output.
# exportfs -arv
Export NFS Shares
6. To display the current export list, run the following command. Note that the exports table also applies some of the default exports options that are not explicitly defined as shown in the following screenshot.
# exportfs -s
List NFS Shares
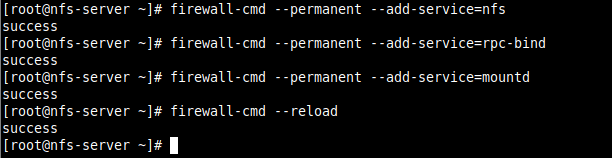
7. Next, if you have the firewalld service running, you need to allow traffic to the necessary NFS services (mountd, nfs, rpc-bind) via the firewall, then reload the firewall rules to apply the changes, as follows.
8. Now on the client node(s), install the necessary packages to access NFS shares on the client systems. Run the appropriate command for your distribution:
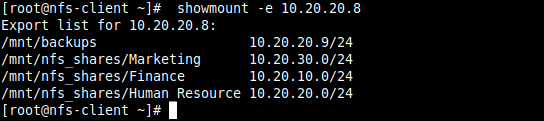
9. Then run the showmount command to show mount information for the NFS server. The command should output the exported file system on the client as shown in the screenshot.
# showmount -e 10.20.20.8
View NFS Shares on Client System
9. Next, create a local file system/directory for mounting the remote NFS file system and mount it as an ntf file system.
# mkdir -p /mnt/backups
# mount -t nfs  10.20.20.8:/mnt/backups /mnt/backups
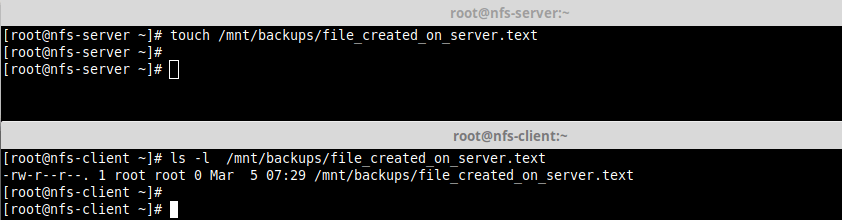
10. Then confirm that the remote file system has been mounted by running the mount command and filter nfs mounts.
# mount | grep nfs
Check NFS Mounts on Client System
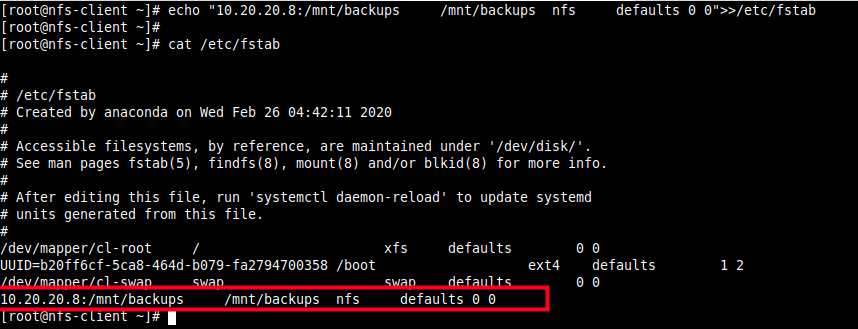
11. To enable the mount to persistent even after a system reboot, run the following command to enter the appropriate entry in the /etc/fstab.
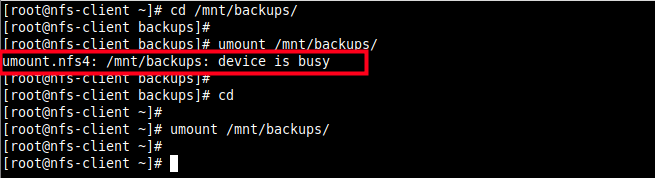
13. To unmount the remote file system on the client-side.
# umount /mnt/backups
Note that you can not unmount the remote file system if you are operating within it as shown in the following screenshot.
NFS Mount Error
That’s it! In this guide, we showed how to install and configure an NFS server and client in CentOS/RHEL 8. If you have any thoughts to share or questions, use the comment form below to get back to us.